Thursday, June 13, 2013

LAYER 2!!! i'm almost decent enough to go out in public now!!!


I have now almost completely finished layer two of my outfit. The only things lacking on this baby at this point are to stitch around the openings in the skirt to finish them and help them lay flatter, and I am going to try putting some boning in the front so that it doesn’t crease so much at the waist.


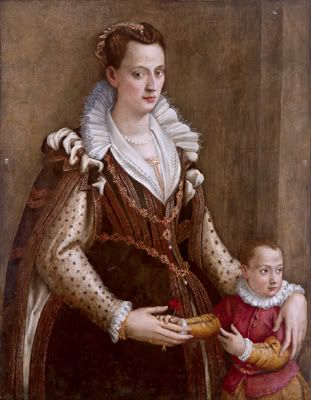
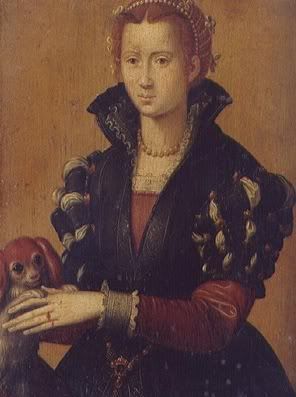
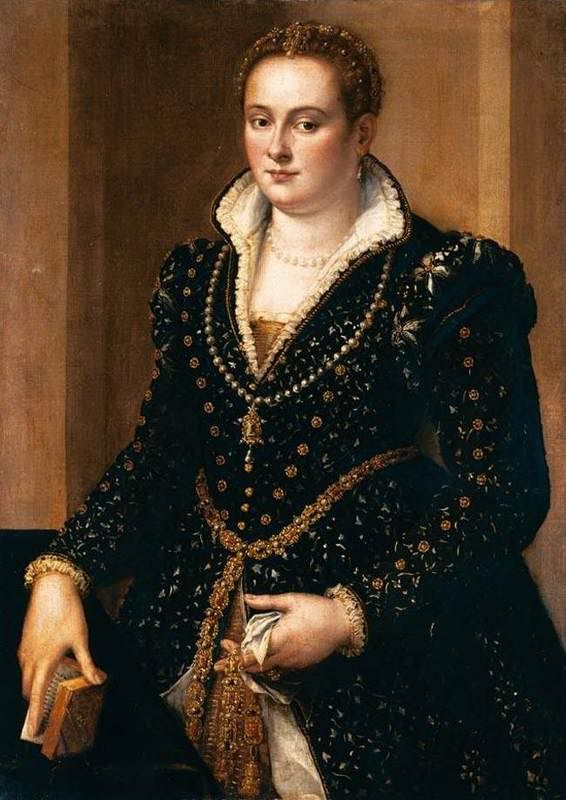
This garment was a labor of stubbornness. I saw this brown fabric years ago, and it’s shimmer reminded me of some lovely paintings I have seen of women in this layer, and I wanted to recreate that effect. The fabric is very thin, however, so it was a bear to work with. The bodice took forever, for I tried different methods of pad stitching to stabilize the fancy stuff. I first tried to pad stitch it with wide stitches (invisible as much as I could on the front) to felt, but that was silly. Then I took more of a tack-stitching approach, working from the front of the fabric to have tiny stitches, while pulling the top fabric and keeping the thread basically in a straight line from one stitch to another. To help stabilize the front bottom of the bodice I did more traditional pad stitching there with felt in place. It’s still not as flat as I’d like, but I’ve decided to get over it.

basting process - see that on the left?  
that's just pad stitched to the felt.  not good.
then i forgot to take pics of the next process.  sorry.

The bodice is layered as such: fancy fabric, canvas, felt, fabric hardened with hide glue, felt and canvas. Hide glue you might ask? Yes. I had heard of the use of cardboard on period dresses and got to wondering. I did experiments (blog documents these), and ended up with a 1 to 10 ratio of glue to water ending up in a rather ligth-weight cardboard effect. It’s surprisingly stiff. And if it bubbles oddly, it is possible to iron the piece which beats the glued fabric into submission. I’d use it again for sure. It took some getting used to, but I think it could allow me a boning-free existence which would be quite nice and much cheeper.

Oh, and skirt is flat in the very front, knife pleated on the sides, and cartridge pleated in the back.  I bagged out the skirt with a heavier fabric to get some weight on the skirt which was a mess to put together (hello mobeus skirt?) for a bit, but I figured it out in the end.  I stitched the skirt onto a ribbon which I then tacked onto the bodice since the main fabric was so thin and stitching through the hide glue fabric would be a beast.

I have the straps attached on the front due to these dress. It was hard to find proof of seems for this stuff, and that dress was quite similar and close to the time.

by orazio gentileschi (1563-1639) date unknown

same artist dated 1609

I did rather side back lacings because I can wrap them around my waist and tie them behind my back under the skirt which takes a bit of practice. I have intentionally left openings there for ability to change size, but also maybe because I’m always hoping I’ll lose weight. Oh, well. But I needed this base layer off of which to to build my veste!


And if you couldn’t tell from my expression, the photo shoot was shot by my beloved. I don’t know how to model or pose for anything, but I love him to bits which shows and provides a glowing effect. I tried to get his german shepherd mix to pose with me, but she was too busy eating grass.


Tuesday, May 07, 2013

the first month!

things have been happening!  slowly but surely.  it all started on vacation, so i thought i'd begin with the camicia because that's simple and doesn't require too many supplies.  ok, so at least the not too many supplies part was right.

i used an old, cotton, king-sized fitted sheet ripping it up around the holes.  why?  because i absolutely adore old, soft sheets.  right now on my bed i have unmatching butter yellow pillow cases that are at least 30 years old because they are the softest things in my bedding closet.  so there.

so i ripped the pieces (straighter lines since i can't cut straight lines) according to festive attyre's pattern except that the gussets I kept as squares.  i also made the back higher to cover tattoos.  i reserve the right to make cuffs later depending on what the sleeves of the veste seem to need.  also there will be lace on it, but more on that in a bit.

the body was put together like the elizabethan seam on extreme costuming and was a fun little jigsaw puzzle to put together.  then it came to the neckline.  ugh.  i didn't think it through all that well.  at first i did four lines of cartridge pleating using 1/8 inch stitches and came up with this:


fail.

so i took out the stitches and backed the whole thing with grosgrain ribbon (bonus: the ribs measure length for you!) and saved it along with hemmed it like this:


and look!  that's grandma's lace that i starched the heck out of that i'll add later, though i don't have enough to go all the way around.  we'll pretend.

hence, the camicia is done!  or at least at a done point that can be changed later.  here are some action shots:

here's another close up of the neckline with the seaming in the gusset.  
i haven't ironed or steamed yet which will make it smoother.


so slimming from the side:

armpit so you can see the work of the gusset:
and is that a kitty photobomb?????

KITTY!
(this is Lucia Maria Medici, btw.  you know you're jealous)


so now onto the bodice.  i've made beginning steps, but it doesn't look all that impressive yet.  i drafted the pattern from some old ones I had using gretchen.

gretchen:

so here's where we stand: i have felt interlining cut out that i'm going to pad stitch to the thin but lovely fabric for the outside.  i've also cut out the fabric to stiffen it and covered that in hide glue (there are other posts on that testing) which will go in the inside.  so i've got the stuff cut out, and when the sun comes up again i'll see if i have matching thread upstairs that is the right weight.  yes, i am too lazy to do this when it's dark.  oh, and you might want to know what the above looks like.  action shots:

it's the front!  it shimmers copper and an ice blue alternately.  i love this stuff:

here is the back with the hide glued piece:

and this makes me look like i know what i'm doing:

and thus you have the update for today.  woo!


Tuesday, April 02, 2013

baragoni

aka sleeve-topper things

i don't like the ones in the painting that much, so here are some options:

squares and triangles:

crossover with fancy braid (I really like this one):

ruffled fabric:

diagonal with trim:

oooo connected scallops:

i've always thought that these points are adorable:

alternating trim bands:


in case it isn't already clear...

i'm doing a close but not exact replica of this lovely:


Monday, March 18, 2013

now a lace camicia roundup

clearly i'm overwhelmed with life and need to braindump.


and here i thought that the beautifully posed "accidental" nipslip for the benefit of the lover only came about with the invention of the camera phone.  clearly i was very wrong.


neckline roundup

i can google image search the names later - i just really feel the need to get these in one spot at the moment.  yay monday.